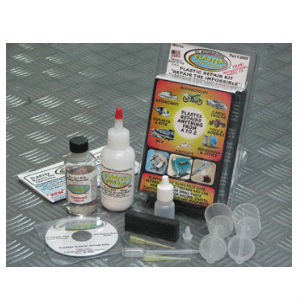
Plastex Standard Kit – Plastic and Acrylic Repair Kit
$32.35
$64.38
Description Filling Liquid Applicator & Powder Dish Using the Needle Applicator Liquid: Squeeze bulb on pipet, put tip into liquid and release pipet bulb to draw liquid. Move pipet to uncapped applicator bottle and squeeze pipet bulb to transfer the liquid Powder: Remove tip of powder bottle, gently squeeze powder from bottle into dish Applying Plastex Using the Applicator Needle: – Place the needle onto the tip of the liquid applicator bottle. – Position above powder dish, gently squeeze liquid bottle and place one or two drops into powder – Quickly pickup sphere with the tip of the needle and position over repair area – Gently squeeze liquid bottle to flow the materials onto repair area, repeat as needed to complete repair – Tip: Can’t pickup mixture ball – Fill powder dish. · – Tip: Too much liquid comes out – Fill liquid bottle to avoid this Using Plastex to Repair Cracks and Fill Gaps Remove dirt and oil from repair area. File or grind a V groove along cracked area Apply Plastex mixture onto repair area as needed Allow Plastex to cure and finish as needed Use cellophane tape to keep mixture from seeping through crack. Tip: If mix sets too soon, add more liquid Repairs Using Plastex with Fiber Reinforcement Cloth Place reinforcement cloth onto cellophane sheet. Sprinkle Plastex powder onto cloth as needed. Apply Plastex liquid as needed to saturate powder. Place onto repair area and adapt to repair. Allow Plastex to cure and remove cellophane. Tip: Use reinforcement cloth on areas that are weak or prone to crack.